This is series of guides is to help you grow your own food.
This article is for you as busy parents and professionals who want the benefit and security of having food grow at the place you live and eat.
It’s actually pretty easy if you start with the basics and get nature working for you.
I’ve already covered the importance of cardboard mulching so you don’t have to waste time weeding and watering in Step 1 and I’ve explained why growing your own food is easier than you think.
My name is Fraser Bliss.
I am co-owner and director of Ooooby NZ and former farm manager of the founder of permaculture.
What is permaculture?
In short permaculture is a way to grow much of your own food and produce your own energy in an easy and sustainable way on your own property.
It offers simple practical solutions. No green-washing or politics.
So let’s start.
Cardboard mulching is to hold back weeds and retain moisture. What we need to do next is to prepare your garden beds for growing food.
De-compacting the soil
The higher quality the soil you have, the better quality food you will get.
Soil should be loose and crumby. The technical term is aerobic.
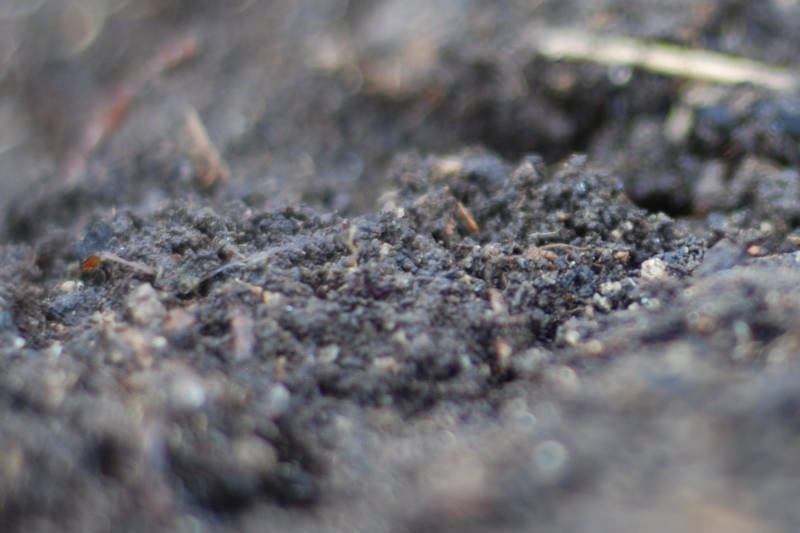
You need soil with air in it to get trillions of good aerobic microbes working for you.
Without their help, you will have do to their work!
And you probably have better things to do…
So let’s get soil conditions right before we start.
On Bill Mollison’s farm, we’d use fancy microscopes to observe and measure the amount of microbial life in our gardens.
But you don’t need to.
Just make sure your soil is not compacted.
Rule #1: Don’t step on the soil
Your weight will compact and squeeze the air out of your garden soil. This will make it anaerobic and invite unhelpful anaerobic microbes to the party.
It will also encourage weeds to move in to “fix the problem”.
Weeds have a job
Yes, that’s right.
Those thistles and dock that we love to hate are there to de-compact your compacted soil with their taproots.
They are on a special mission from mother nature.
Once your soil is de-compacted and teeming with good microbes, they’ll go.
So let’s not compact it in the first place, shall we?
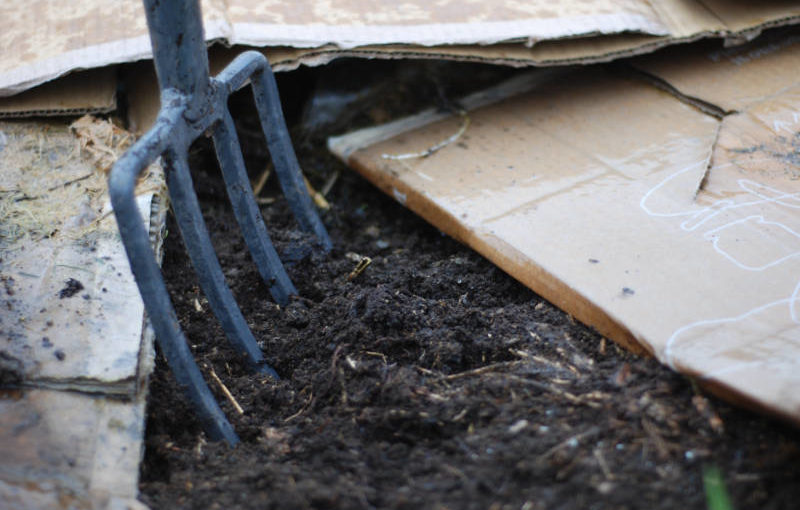
If it’s already hard and “cake-y”, pierce it with a pitchfork and gently wiggle the pitchfork to create air pockets.
This also lets water in!
Plants like water, so this is good! 🙂
Rule #2: Don’t make wide garden beds
Beds that are wide mean that the person with the shortest arms in your household can’t easily reach the middle. They will break rule #1 and compact the soil.

So go out to your garden and de-compact any soil that is not crumby and soft.
Getting the basics right before you start makes all the difference.
And don’t worry, once your garden is established you won’t be looking at ugly cardboard. It will be beautiful and abundant.

Next steps…
In my next guide, we’ll talk about compost… Simple steps to make beautiful compost your plants will love and why you shouldn’t waste your money on bagged compost sold in garden centres.
Until then, happy de-compacting and enjoy that wonderful soft spring sunshine!
Awesome share thanks
These blogs are so helpful. Thank you! I’ve gone out and done this today. Just wondering if I should be covering the soil back up with the cardboard so it doesn’t dry out before I get my plants in? Our soil seems to be quite clay-like. Is that a problem?
To answer that question you can ask yourself “where to I see bare soil in undisturbed nature?”.
If you thought “nowhere”, you are correct.
To work with nature we have to emulate it. So do cover up. Cardboard is just the first of many layers of mulch to come. Can’t have too much.